Like any other chat, you can share a file in Teams Chat. So why do we need to write an article about it? Because sharing a file in Teams chat is a special and powerful case. Indeed, it is easy to share it the wrong way and defeat the purpose of sharing.

Contents
TL;DR – Quick Fix
- When you share a file in Teams it is stored in your OneDrive folder
- You have edit permission and others have read-only permission
- Usually, we want them to edit the file
- Therefore, as soon as you upload the file change the permission
- Open the dropdown next to Anyone with link can Read and Choose Allow Editing
- Also choose People currently in this chat
- Now, everyone can edit the file – same copy. Co-authoring. No copy paste.
- Efficient!
Read on for more details.
Sharing a file in Teams chat is different
Almost all chat apps allow file sharing – including Teams. However, in Teams chat the file is shared via OneDrive. You have two options – share a file that is already in OneDrive or, alternatively, upload a file from local drive.
If you upload a local file – understand that a COPY of that file will be added to your OneDrive. In case you edit the local file, the shared file will NOT change. Is this behaviour good or bad?
Why did you share a file in Teams Chat?
If you wanted the chat members to view the file, the above process works just fine. As long as you edit the OneDrive version of the file, everyone in the chat will see the latest version of the file.
However, in most cases, when you share a file in Teams Chat, you want others also to edit it. You want inputs or corrections from others – that too urgently. That is exactly why you put it in the group chat in the first place. On the other hand, if this was not an urgent requirement, you could easily have shared the link in email.
Needless to say – if you want people to edit the file, the default process is not going to work. Why not? Because for everyone else the file is read-only. If you force them to edit the file, they have no choice but to make a copy of it, edit it and upload it in chat. Obviously, this will lead to multiple copies – each with a different person’s changes. We are back to inefficiency.
Therefore, while attaching / uploading / sharing a file in Teams chat, we need a way to give EDIT permission to everyone.
Change the permission WHILE sharing the file
By default, when you upload a file in Teams chat, it creates an anonymous, read-only link – Anyone with this link can View.

This is the time you can easily change the permissions to what you need.
Open the dropdown and choose People currently in this chat. Also choose the Allow Editing option and click Apply.

Click Apply. Now Send the message.
Read the message which appears. The Edit access applies to people who are CURRENTLY in the chat. If you add more people later, you will need to go to the OneDrive file and give them additional Edit permission.
By the same corollary, if you remove someone from the chat, that person’s permissions on the files you have shared in the chat will NOT be removed. You must do so explicitly.
This works on the desktop and browser editions. However, this option is not available while sharing a file from the mobile app.
Shared files in the Files tab
All the files shared by chat participants are available in one place – the Files tab in Teams Chat. There is no need to keep scrolling upwards or use the Search feature. Click on a File and use the ellipsis menu open the file or use other options. Needless to say, the options available will be different if you are the owner versus a collaborator.
How to see all files shared across Teams chats?
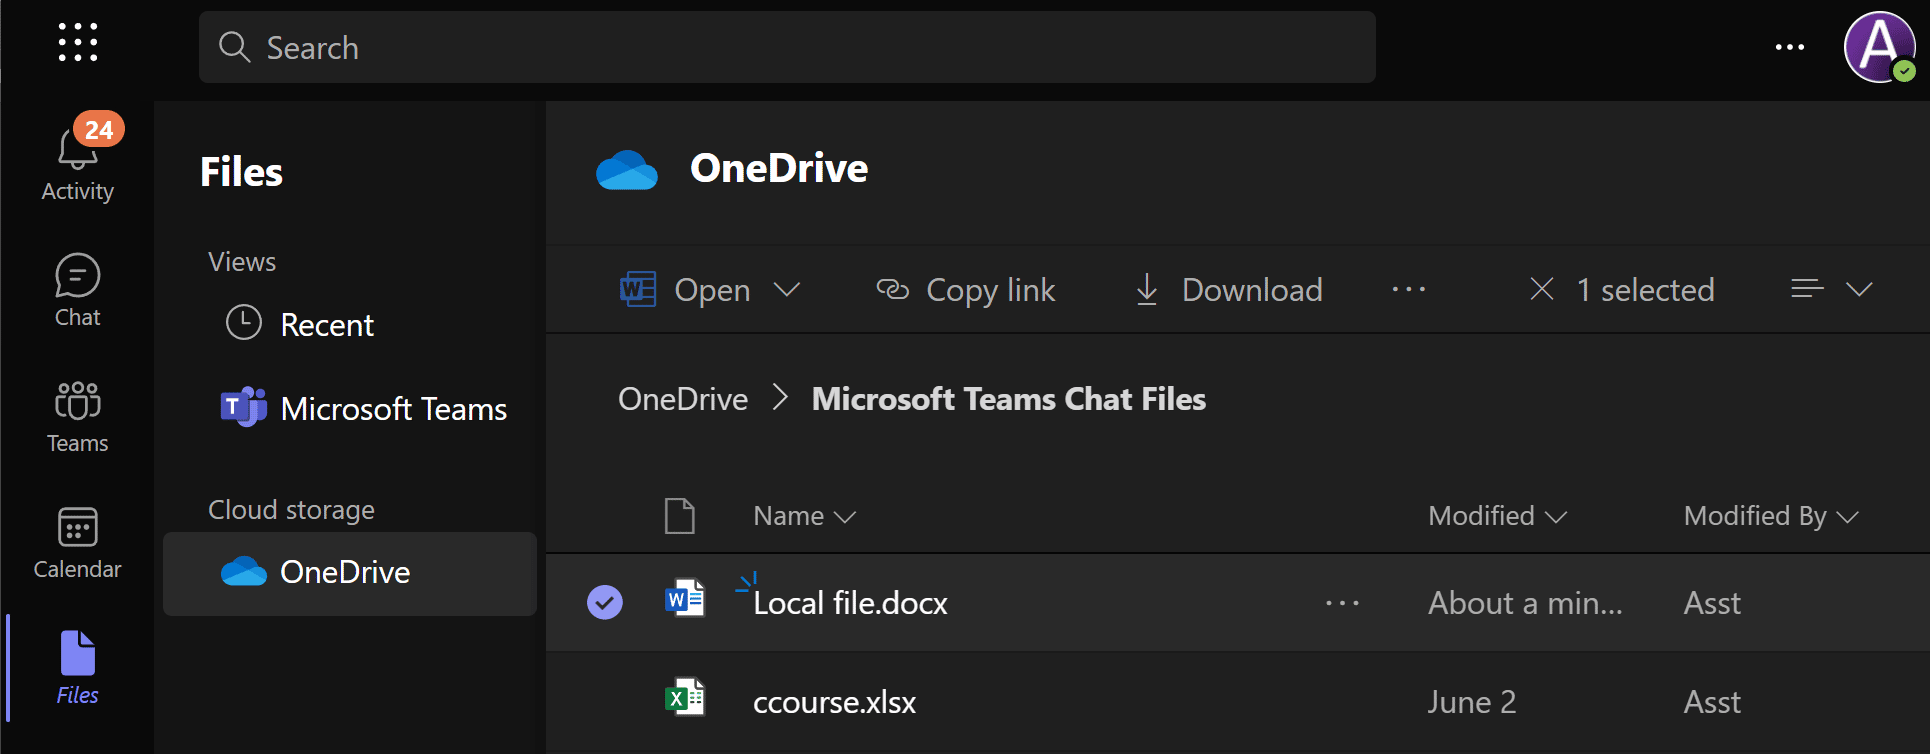
All the files you share or upload in Teams chats are stored in your OneDrive. Open OneDrive on browser and look for a folder called – Microsoft Teams Chat Files. You will see a list of all the files you have shared across chats. Please note that you CANNOT see which chat you shared the file in. In fact, it does not matter.
What you will want to know is whom is it shared with. Click on the Shared icon in the Sharing column for a specific file. It will show you the current status of sharing permissions with people names.
How to see all shared files?
Meanwhile, what if you want to see all the files you have shared from OneDrive – directly, on mail or through Teams chat, you have another option available. Go to OneDrive – on the left side choose Shared and choose Shared by Me.
This shows all files and their sharing status. It is a good idea to view this list periodically. It is possible that you shared some files long back and they no longer need to be shared.
File sharing report
For the technically minded or for those who want some auditing data, you can also get a CSV report giving a list of all shared files.
- Click on the gear (sprocket) icon on the top right side of OneDrive page (next to your profile picture).
- Choose OneDrive settings.
- Select More settings from the left side pane.
- From the Manage Access area – choose Run Sharing Report option.
- Choose a folder to save the report
- After some time the report will be ready.
- It is a CSV file containing details about each shared file.
- You can import it into Excel or Power BI and analyse it further.

To learn more details about OneDrive Compliance and Governance refer to this link.
What if you share a file in Teams chat with view permissions?
It is very likely that you have shared some files using the default method – which makes the file view only for other chat participants. However, you would like others to edit the file. Here is how you do it:
- Delete the message containing the file. Hover on the message – click three dots (ellipsis or overflow menu) on top right of the message and choose Delete. We are deleting the message – not the file. The file is still safely stored in your OneDrive.
- Now choose Upload file option again.
- Choose OneDrive and go to Microsoft Teams Chat Files.
- Locate the file and select it.
- At this stage the dropdown showing – Anyone with this link can View will appear.
- Open the dropdown and choose the People Currently in this Chat option and choose Allow Editing.
- Click Apply. That’s it.


