This is a common requirement. Let us say you have a self-running presentation displayed in your company reception or in your booth in a trade show.
You want to add background music to play in the background. The slide show should never stop and the music should never stop.
Here is how you do it.
Contents
Make the presentation self running
If you just have slides which should advance automatically after a fixed period of time, here is how you do it.
Go to Slide Sorter view. Select all slides. Choose Transition tab. Add a transition if required. You can also change the transition for relevant slides, but do not overdo it.
Anyway, select all slides and change Advance After timing to a suitable time. The ideal time duration depends upon how crowded the slides are and how much is the animation on each slide. First set the timing for all slides and then you can tweak it for individual slides.
If you have recorded narration, the slide timings will be automatically added. Refer to the previous post to understand how to add voice narration to slides.
Find the music
Make sure you are not violating any copyright while using any piece of music. If you don’t have royalty free music, use Office Online collection.
Go to the first slide.
Insert – Audio – Online Audio. (Older versions – Insert Clipart – Activate Include Office Online checkbox, Open dropdown and select Audio)
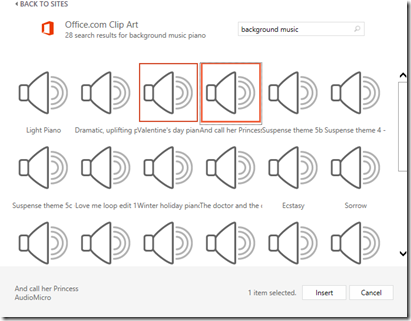
Now search for “background music”. There are lots of files.
DO NOT click or double click on the icons. First you want to hear the music. Just move the mouse cursor over each icon and WAIT. DO NOT click. Depending upon the length of the audio, it may take some time to play the preview audio.
When you like one, select it and click Insert.
Make the audio run automatically
Click on the audio icon. Audio Tools tabs appear on the top. Choose Playback tab.
If you have Office 2013, just click on the style – Play in Background. It manages all the required settings.
If you don’t see the Play in Background option, you have to manually set the following options:
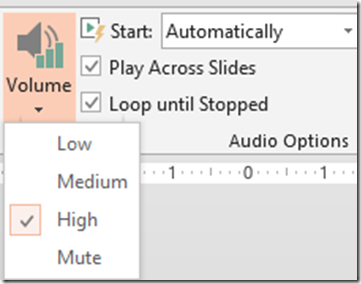
- Change the Start to Automatically
- Choose Play across slides, Loop until stopped and Hide during show
That’s it. Now when you run the presentation, the audio will run throughout the presentation. It will restart when finished.
This is how you get a self running presentation with background music.
What if you have narration as well?
If there is narration in the first slide, we have to take one extra step. Here we already had one animation for the narration audio. When you added the music object, and chose Start Automatically, another animation is added. One animation is for the narration and the other one is for the background music.
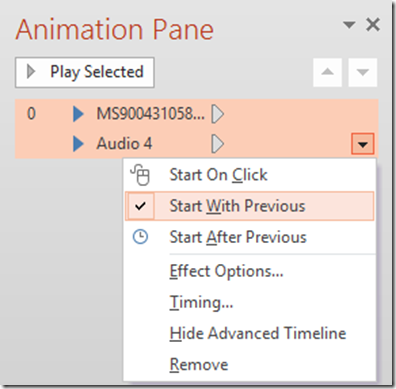
The second file may wait for the first one to finish playing. This is because, the second animation may be set to Start After Previous (animation).
So the only change you need to do is to make sure that both animations are set to Start with Previous.
Now both the narration and audio will run together.
The same concept applies if you have a video running on the slide and you add a separate music file. Make sure both are set to Start with Previous.
If there is narration, you want it to be heard clearly. You DO NOT want the background music to overpower the narration. Therefore, choose the music object, go to Playback tab and change the Volume to low or medium. Try it out to check which one works best.
Name the objects
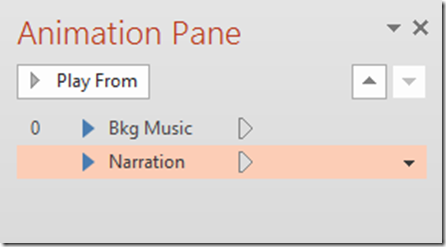
If you have many objects in animation pane, you will get confused with the cryptic names. To avoid that, use Home – Select – Selection Pane. As soon as you add any object, it appears in the selection pane. Double click on the entry in the selection pane and then rename it to a more sensible name. This way, the animation pane becomes easier to understand and manage.
Do post your comments and suggestions. Happy Presenting!


